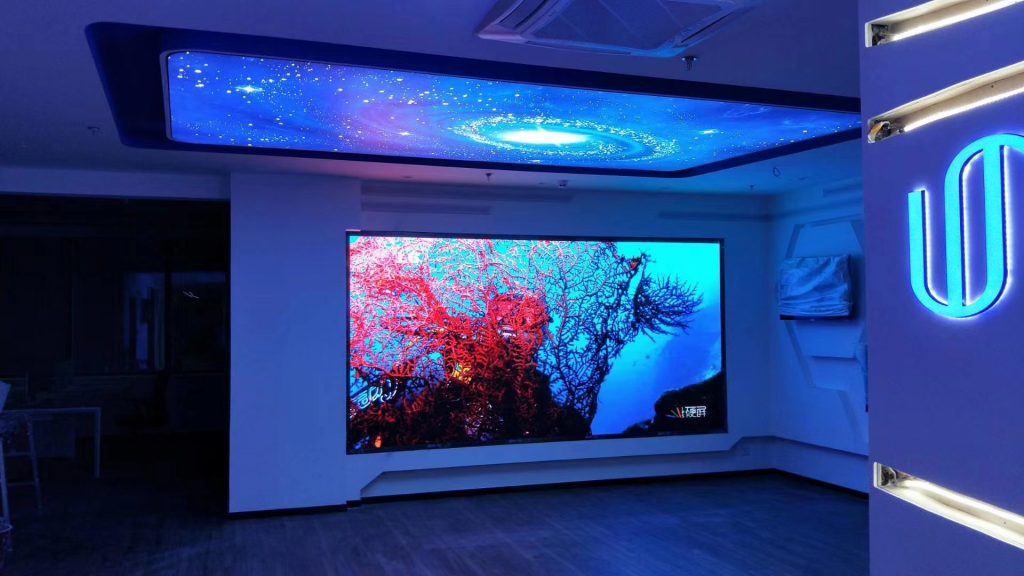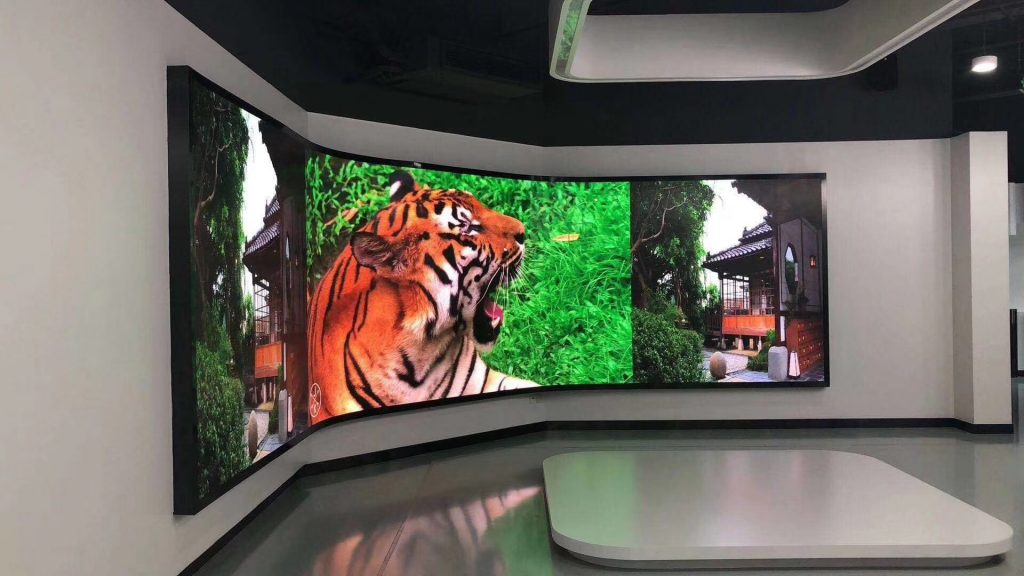
What are the precautions for indoor LED screen installation?
Because the Indoor LED Screen has the characteristics of a rapid increase in current with a slight increase in voltage, excessive current will cause the burning of the LED lamp or the attenuation of the brightness. When using it, a resistor should be added in series with the LED lamp to limit the current , and the Indoor LED display should work under the same current conditions. It is generally recommended that the current through the LED is 15-19mA.
2. Brightness test and product instructions
(1) When detecting and using LED, each LED must be provided with the same current, i.e. constant current detection, to ensure consistent detection brightness. The current should preferably not exceed 20mA, and 15-19mA should be used.
(2) When using spectrometer products, please categorize and use them in the order of BIN number. You cannot mix LED with different BIN numbers in the same product to avoid differences in color, brightness, and voltage. If you want to mix BIN numbers, you can put adjacent BIN numbers together, but try to avoid them.
3. Anti-static precautions
(1) All equipment and instruments that contact the indoor LED Display must be well grounded, especially soldering irons and tin furnaces must be well grounded.
(2) Operators must wear grounded anti-static wrists, anti-static shoes and anti-static clothes.
(3) Anti-static wrists must be tested every day, and those that fail to pass must be replaced.
(4) If the LED is damaged by static electricity, it will show some undesirable characteristics: leakage current increases, static forward voltage decreases or rises, does not light up or emits abnormally under low current test.
4. Indoor LED Display welding conditions
(1) Soldering iron welding: the tip temperature of the soldering iron (maximum 30W) should not exceed 300℃; the soldering time should not exceed 3 seconds; the soldering position should be at least 3 mm away from the colloid.
(2) Dip soldering: the highest temperature of dip soldering is 260℃; the dip soldering time is no more than 5 seconds; the dip soldering position is at least 2 mm away from the colloid.

5. Lead forming method
(1) It must be 2 mm away from the colloid to bend the bracket, so as not to cause the colloid to break or damage the internal structure.
(2) The stent forming must be done with fixtures or by professionals.
(3) The support forming must be completed before welding.
(4) When forming the bracket, ensure that the pins and spacing are consistent with the circuit board.
6. Indoor LED Displayinstallation method
(1) Pay attention to the arrangement of external wires of various devices to prevent incorrect polarity installation. The device should not be too close to the heating element.
(2) Be sure not to install indoor LED Displays when the pins are deformed.
(3) When deciding to install in the hole, calculate the size and tolerance of the face and the hole distance on the circuit board to avoid excessive pressure on the bracket.
(4) When installing the indoor LED Display, it is recommended to use the guide sleeve for positioning.
(5) Before the welding temperature returns to normal, it is necessary to avoid any vibration or external force on the indoor LED Display.
7. Cleaning
Special care must be taken when cleaning the colloid with chemicals, because some chemicals can damage the surface of the colloid and cause discoloration such as hydroelectricity and acetone. It can be wiped and dipped in ethanol for no more than 3 minutes at room temperature.
8. Working and storage temperature
(1) LED LAMPS light-emitting diode Topr-25℃~85℃, Tstg-40℃~100℃.
(2) LED Display display Topr-20℃~70℃, Tstg-20℃~85℃.
(3) OUT-DOOR LED LAMPS pixel tube Topr-20℃~60℃, Tstg-20℃~70℃.
