How to install LED display?
LED display as a high efficiency, energy saving, rich color display equipment, widely used in various occasions. However, for friends who contact LED display for the first time, how to install may be a headache.
First, the preparation of the LED display before installation
Before we start the installation, we need to make full preparations. First, make sure you have purchased the appropriate LED display and its accessories, such as bezels, mounting racks, cables, etc. Secondly, according to the size and weight of the display screen, choose the appropriate installation location and method, such as wall fixing, column fixing, etc. In addition, prepare required installation tools and materials, such as screwdrivers, electric drills, expansion screws, and levels.
Second, LED display assembly
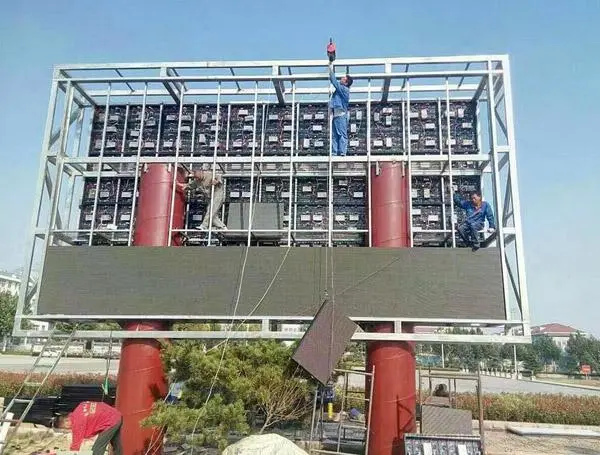
1. Display frame assembly: according to the display size and design, the frame is assembled in order. Make sure that each border is firmly connected and not loose.
2. Display module assembly: Install the LED light beads on the display module according to the design drawings to ensure that the light beads of each module are arranged neatly and in the same color.
3. Cable connection: Connect the cables of each display module in sequence to ensure that the cables are properly and securely connected.
4. Power and control card connection: Connect the power and control card to the display according to the instructions to ensure that the connection is correct and stable.
Third, LED display installation
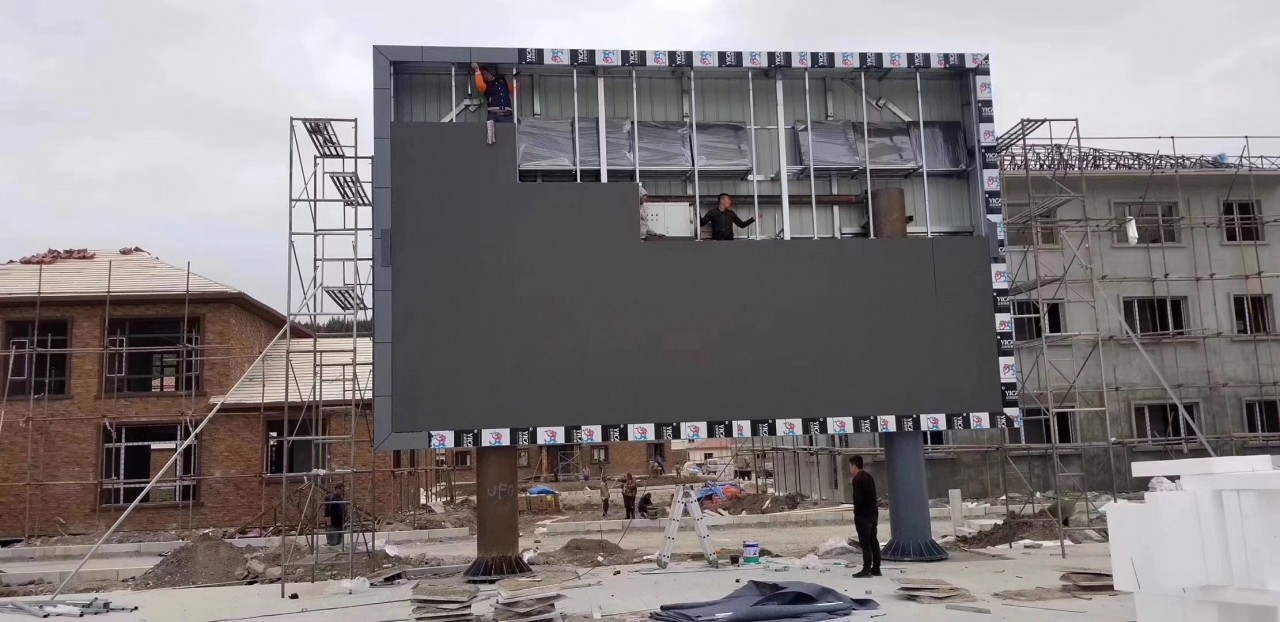
1. Secure the display: Secure the display to a wall or column based on the installation method and position prepared. Use expansion screws or corresponding fasteners to secure the frame.
2. Adjust the horizontal and vertical positions of the display. Use tools such as a level and screwdriver to adjust the horizontal and vertical positions of the display to ensure that the display is perpendicular to the ground and the four sides are level.
3. Test and debugging: Connect the power supply and control card, turn on the power supply, and test whether the functions of the display screen are normal. If there is a problem, timely adjustment and repair.

Fourth, the use and maintenance of LED display
After the installation, according to the actual needs, you can use the control card to edit and play a variety of graphic information. In the process of use, it should be regularly checked whether the connection line of the display screen is loose or damaged to ensure a safe and stable display effect. At the same time, clean the surface of the display regularly to avoid dust and dirt affecting the display effect.
Fifth, common problems and solutions
1. If the display is off, check whether the power supply is normal, whether the control card is working properly, and whether the connection cable is firm. Troubleshoot and fix problems one by one.
2. Blurred display: Adjust the focal length of the display or replace the corresponding lens. If the problem persists, the lamp bead or module may need to be replaced.
3. Display color distortion: Check whether the control card Settings and signal source are normal. If there is a problem, adjust the control card Settings or change the signal source.
4. Blinking: Check whether the refresh rate of the display is set correctly. If there is a problem, adjust the refresh rate setting.
5. Display jitter: Check whether the cable is firmly inserted and the signal source is stable. If there is a problem, fix it accordingly.
Through the above steps, you should have mastered the installation method of LED display. Please note that the problems you may encounter in practice and the solutions may vary depending on the situation. If in doubt or encounter difficulties, it is recommended to seek professional help or guidance. I hope this article can help you successfully complete the installation of the LED display!
LED display installation video