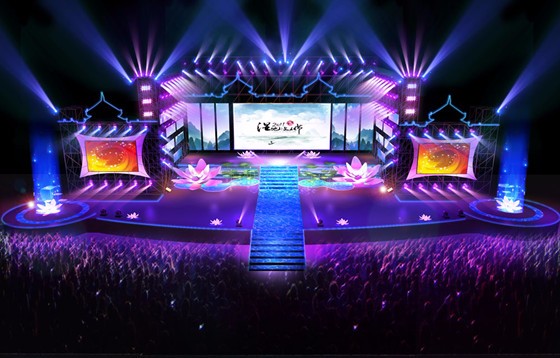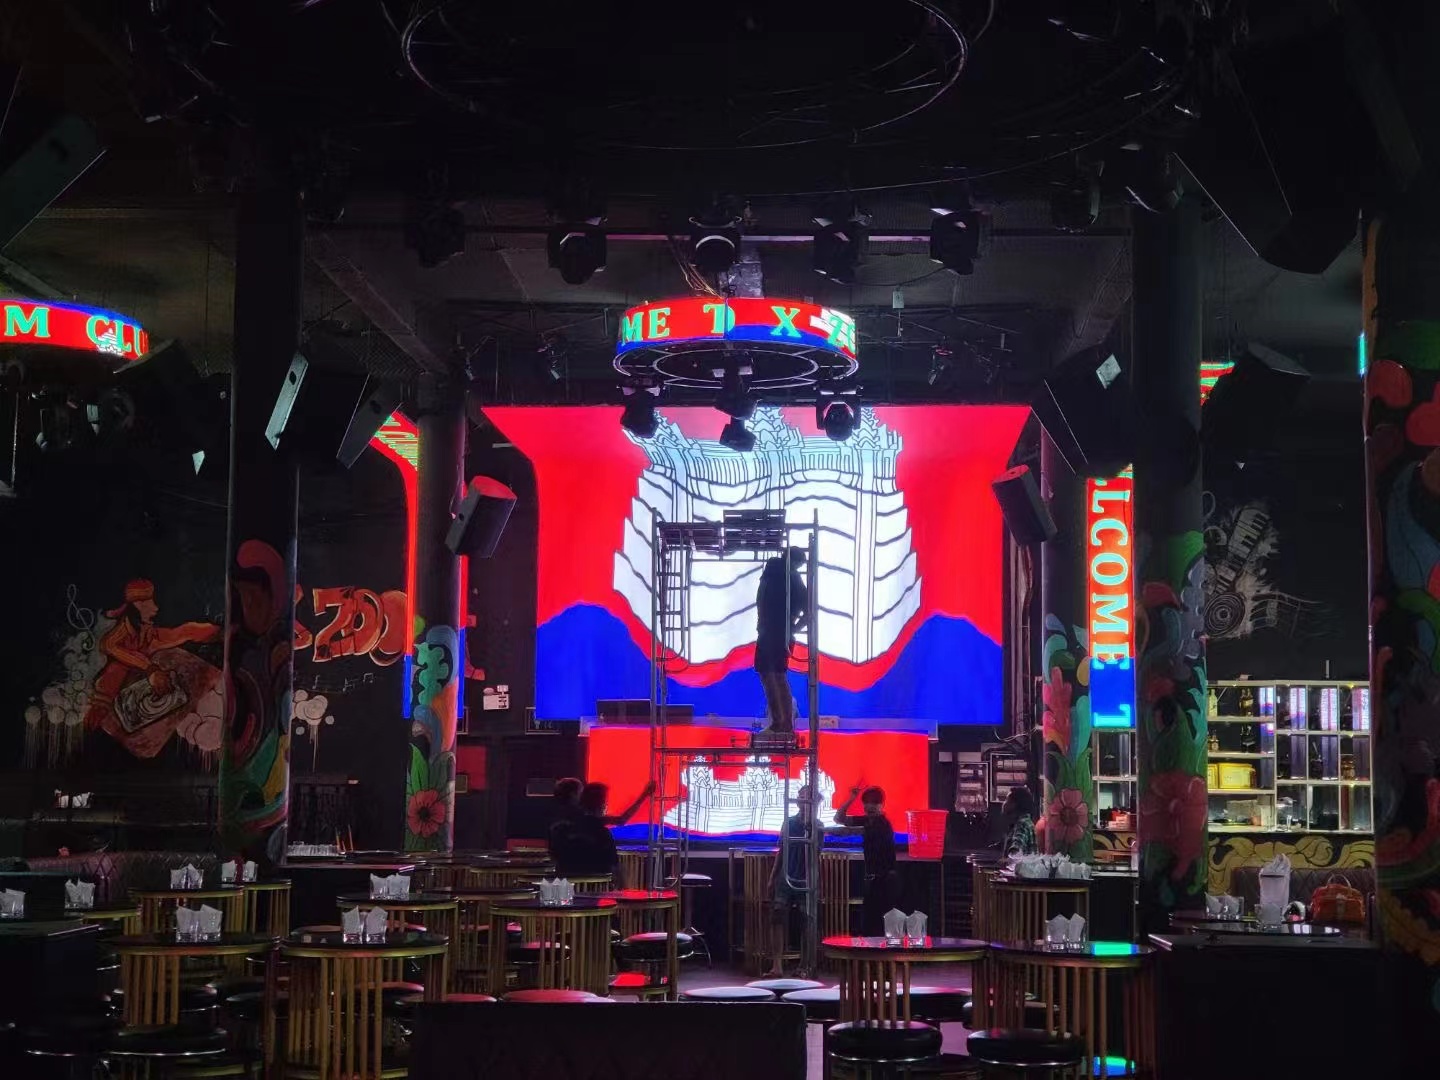
How to build a stage rental LED screen?
Building a stage rental LED screen involves several crucial steps to ensure the setup is robust, visually appealing, and functional. Whether for concerts, conferences, or other events, a well-constructed LED screen enhances the audience’s experience. Here’s a comprehensive guide on how to build a stage rental LED screen
1.Assessment of Requirements
Before diving into the construction process, it’s essential to assess the requirements of the event. Consider factors such as screen size, resolution, viewing distance, and environmental conditions. These specifications will dictate the type and quantity of LED panels needed.
2.Selection of LED Panels
Choose LED panels that meet the event’s requirements in terms of resolution, brightness, and durability. Opt for panels with high refresh rates to prevent flickering and ensure smooth video playback. Additionally, consider the panel’s pixel pitch, which determines the screen’s image clarity.
3.Frame Construction
Construct a sturdy frame to support the LED panels. Use aluminum or steel truss structures that are lightweight yet robust. Ensure the frame is designed to withstand the weight of the LED panels and any rigging equipment used for installation.
4.Mounting of LED Panels
Carefully mount the LED panels onto the frame using rigging hardware such as clamps or brackets. Ensure proper alignment and spacing between panels to create a seamless display. Take precautions to prevent damage to the panels during installation.
5.Wiring and Connectivity
Connect the LED panels using reliable cables and connectors. Pay attention to cable management to minimize clutter and prevent tripping hazards. Test the connectivity of each panel to ensure they function properly and synchronize with the content source.

6.Content Calibration
Calibrate the LED screen to optimize image quality and color accuracy. Adjust settings such as brightness, contrast, and color temperature to suit the event’s lighting conditions. Use calibration software and tools to fine-tune the display for optimal performance.
7.Integration with Control Systems
Integrate the LED screen with control systems for seamless operation. Install video processors, media servers, and control consoles to manage content playback, switching, and scheduling. Ensure compatibility between the LED screen and control hardware.
8.Testing and Quality Assurance
Conduct thorough testing of the LED screen to identify any issues or defects. Test for image consistency, color uniformity, and panel functionality. Address any issues promptly to avoid disruptions during the event.
9.Installation and Rigging
Safely install the LED screen onto the stage or mounting structure using appropriate rigging techniques. Follow industry safety standards and regulations to prevent accidents or injuries during installation. Hire qualified riggers and technicians if necessary.
10.Maintenance and Support
Provide ongoing maintenance and technical support to ensure the LED screen performs reliably throughout the event. Regularly inspect the screen for signs of damage or malfunction and address any issues promptly. Have a backup plan in place in case of emergencies.
By following these steps, you can build a stage rental LED screen that meets the highest standards of quality, performance, and reliability. A well-constructed LED screen enhances the visual impact of any event and leaves a lasting impression on the audience.
good
so good
tks