Just ask. Get answers.
Your questions and comments are important to us.
×
Your cart is currently empty
Home
About US
Solutions
CaseList
Products
Hot Sale
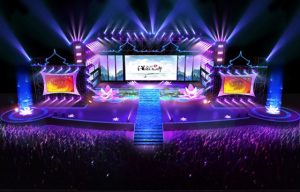
Rental Casting
Indoor Rental
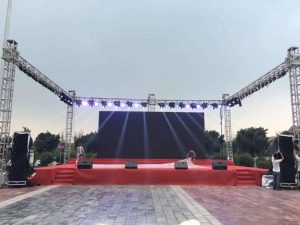
Outdoor Rental
Fixed Led Display
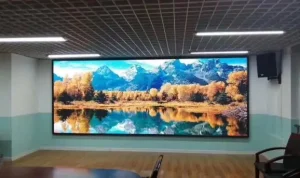
Oudoor Fixed
Indoor Fixed
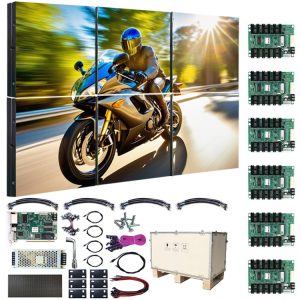
UHD Video Wall
Advertising Machine
DJ Console
LED Sign
Transparent LED Display
Support
Installation Video
Software download
Product specification
Drawing
forum
News
Product Assembly
Product debugging
Product video
Contact
My account
Search for:
Let's Talk
Your cart is currently empty
Currently browsing: Product Assembly
The hardest part of starting up is starting out
Installation method of LED display screen
December 16, 2024
LED display repair method Common fault handling methods
September 12, 2024
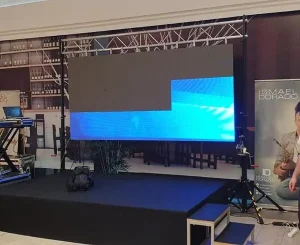
How are indoor LED displays installed?
September 11, 2024
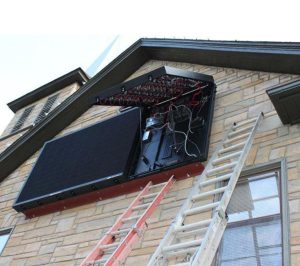
Front Access LED Display Solution
September 3, 2024
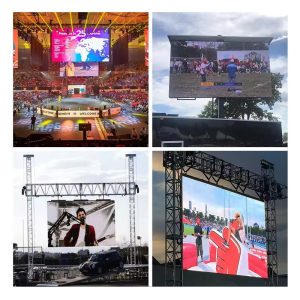
Rental LED Screens vs Fixed LED Displays
August 28, 2024
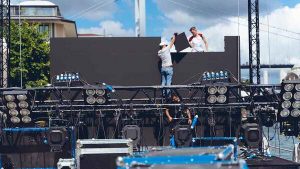
How to set up a stage rental LED screen
August 17, 2024
Outdoor LED display and indoor LED display difference
August 9, 2024
Benefits of using removable LED screen rental
August 8, 2024
How to build a stage rental LED screen?
August 8, 2024
Product
AIRC2.604 LED display for indoor rental
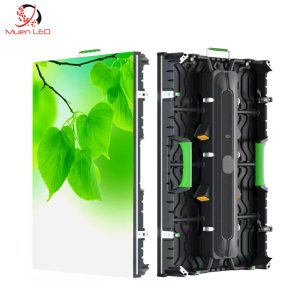
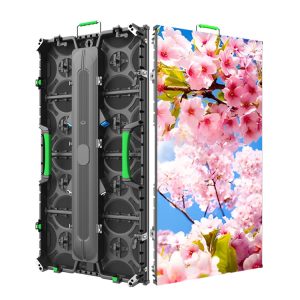
Hot portable stage p3.91p4.8 video wall Led display rental 500×500 panel die-cast aluminum cabinet
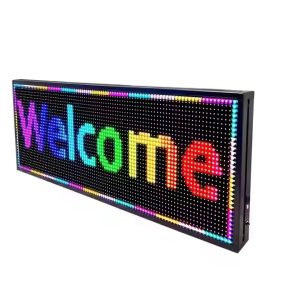
P10 192×32 LED Sign Board Display Outdoor Full Color Horizontal 160 Vertical 160 Amber P10mm 192x32mm Muenled
ES10 set 6 patch 2.88X1.92moutdoor p10 smd led display billboards ip 66 ledwall muenled modular led screen